Logo

Autoschematic

Minecraft on Kubernetes

In this example, we'll demonstrate the Kubernetes Connector with a simple workload - a Minecraft server!

You can use any Kubernetes cluster, as long as your kubeconfig is set up correctly. Here, we'll use a k3s cluster running on our local machine. Check the k3s {Quick-Start Guide](https://docs.k3s.io/quick-start) to set up a cluster of your own.

For this example, we have a repo with a script and config ready to go. It's designed to run against your default kubeconfig.

We'll start with our autoschematic.ron file. Remember, this should be at the root directory of a Git repo.

git clone https://github.com/autoschematic-sh/demo-k8s-minecraft
cd demo-k8s-minecraft
AutoschematicConfig(
    prefixes: {
        "main": Prefix(
            connectors: [
                Connector(
                    shortname: "k8s",
                    spec: Cargo(
                        name: "autoschematic-connector-k8s",
                        version: "0.9.0"
                    )
                ),
            ]
        )
    },
)

If you haven't installed the k8s connector already, run autoschematic install to build and install it.

Importing Existing Resources

We'll start by running bash scripts/minecraft-k3s.sh up to install and start the Minecraft server on our cluster. You can skip this if you'd prefer to just poke around your Kubernetes cluster in its current state.

[demo@autoschematic.sh]% bash scripts/minecraft-k3s.sh up  
namespace/games configured
configmap/minecraft-config created
persistentvolumeclaim/minecraft-data created
deployment.apps/minecraft created
service/minecraft created
Deployed. Connect to: <node-ip>:30065
Tip: kubectl -n games rollout status deploy/minecraft

You can connect to the server on localhost:30065 .

Now, we'll scan our cluster and import its resources into code by running autoschematic import.

autoschematic import -s k8s/default/ns/minecraft/ 
 Starting import. This may take a while!
k8s: Starting import under main/./
 ⋉ Imported main/k8s/default/ns/minecraft/configmap/minecraft-config.yaml
 ⋉ Imported main/k8s/default/ns/minecraft/persistentvolumeclaim/minecraft-data.yaml
 ⋉ Imported main/k8s/default/ns/minecraft/pod/minecraft-6f9d6bd6b5-29kfp.yaml
 ⋉ Imported main/k8s/default/ns/minecraft/service/minecraft.yaml
 ⋉ Imported main/k8s/default/ns/minecraft/deployment/minecraft.yaml
 ⋉ Imported main/k8s/default/ns/minecraft/ns.yaml
 ⋉ Imported main/k8s/default/ns/minecraft/configmap/kube-root-ca.crt.yaml
 Success!

Fantastic! See what we did there, by the way? We used the subpath filter syntax to limit the set of resources we import. Since addresses have strong semantic significance in Autoschematic, this is a very useful operation. Plan, apply, import, and other commands all support filtering by subpath with --subpath or -s. See the command-line help page for more.

First, we'll commit our state to git, assuming everything went well.

git add main/k8s/default/ns/minecraft
git commit -m "k8s: Import minecraft namespace"

Now, let's take a look at our configmap.

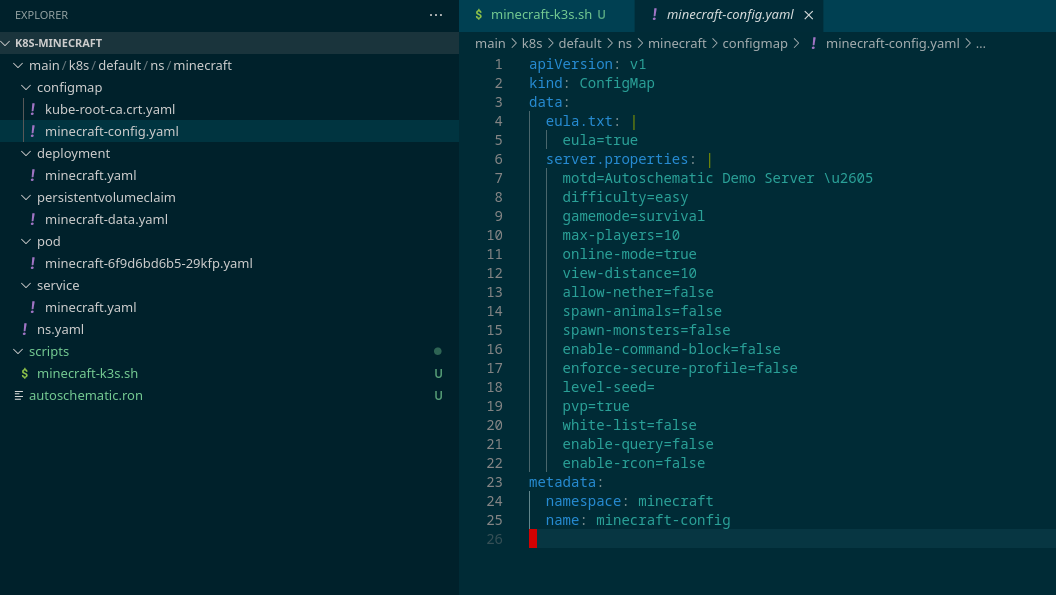
Oh! No mobs and no nether? We'll just fix that. We'll modify our config and stage it with git add, but we won't commit it yet. To restart the pod, we'll also delete the pod file and git add that, too!

git add main/k8s/default/ns/minecraft
autoschematic apply
╔══════════════════════════════════════════════════════════════════════════════╗
║ At main/k8s/default/ns/minecraft/configmap/minecraft-config.yaml:
║  ⟣ Modify ConfigMap minecraft/minecraft-config:
║   ConfigMap(
║       apiVersion: "v1",
║       kind: "ConfigMap",
║       data: {
"eula.txt": "eula=true\n",
║  -        "server.properties": "motd=Autoschematic Demo Server \\u2605\ndifficulty=easy\ngamemode=survival\nmax-players=10\nonline-mode=true\nview-distance=10\nallow-nether=false\nspawn-animals=false\nspawn-monsters=false\nenable-command-block=false\nenforce-secure-profile=false\nlevel-seed=\npvp=true\nwhite-list=false\nenable-query=false\nenable-rcon=false\n",
║  +        "server.properties": "motd=Autoschematic Demo Server \\u2605\ndifficulty=easy\ngamemode=survival\nmax-players=10\nonline-mode=true\nview-distance=10\nallow-nether=true\nspawn-animals=true\nspawn-monsters=true\nenable-command-block=false\nenforce-secure-profile=false\nlevel-seed=\npvp=true\nwhite-list=false\nenable-query=false\nenable-rcon=false\n",
},
║       metadata: ObjectMeta(
║           name: "minecraft-config",
║           namespace: "minecraft",
),
)
║ At main/k8s/default/ns/minecraft/pod/minecraft-6f9d6bd6b5-29kfp.yaml:
║  ⟣ Delete Pod minecraft/minecraft-6f9d6bd6b5-29kfp
╚══════════════════════════════════════════════════════════════════════════════╝
 ◇ Plan complete.
Type 2560 to execute all of the above actions and commit.
Hit Ctrl-c to cancel.
>2560
╔══════════════════════════════════════════════════════════════════════════════╗
║ At main/k8s/default/ns/minecraft/configmap/minecraft-config.yaml:
║  ⟖ Modified ConfigMap minecraft/minecraft-config
║ At main/k8s/default/ns/minecraft/pod/minecraft-6f9d6bd6b5-29kfp.yaml:
║  ⟖ Deleted Pod minecraft-6f9d6bd6b5-29kfp
╚══════════════════════════════════════════════════════════════════════════════╝
 ◈ Apply succeeded! Do you wish to run git commit to track the new state? [Y/n] 

Cool! Now, the deployment should spawn a new pod with your updated configuration. You can connect to the Minecraft server on the address localhost:30065.

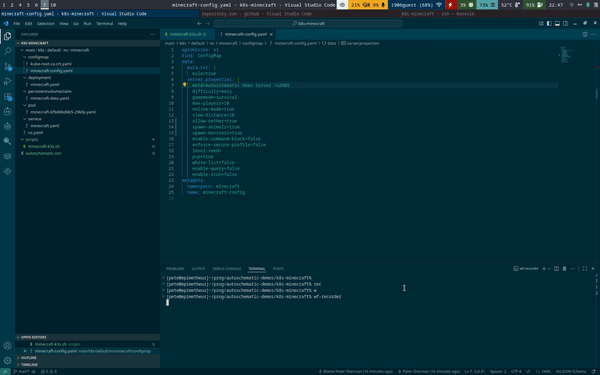
Oh, and one extra note - if you're using the Visual Studio Code extension, you can instantly get the diff between your Autoschematic resources and their live state like so:

Up next: AWS IAM Users, Roles, Groups, and Policies